
Step-by-Step: Fermenting Rice Water Safely to Avoid Protein Overload
A precision guide to a 24-hour fermentation method that maximizes inositol extraction for hair strength while strictly mitigating the risks of protein-induced brittleness.

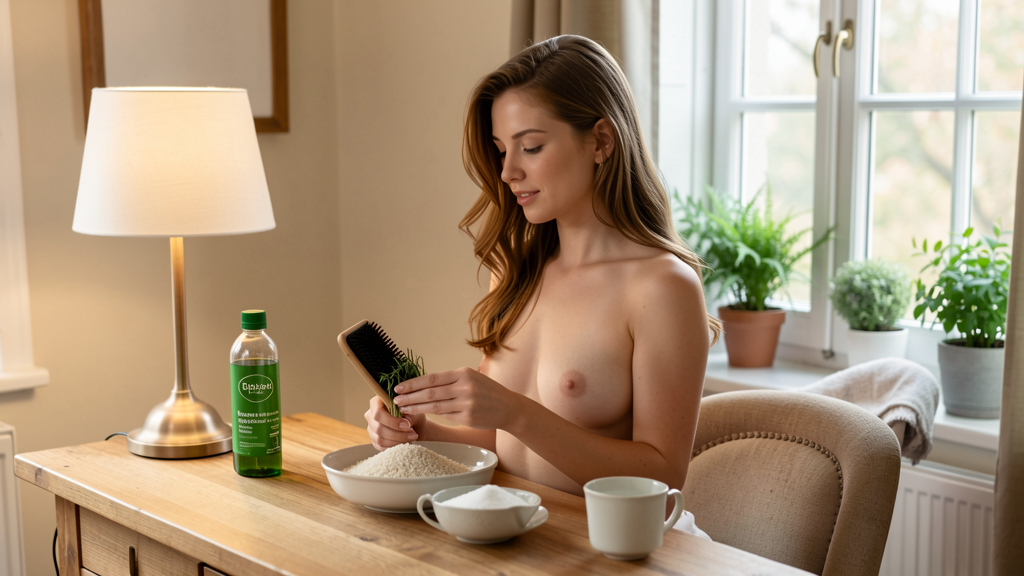
The allure of rice water as a hair treatment is undeniable. We have all seen the historical references to the Yao women and their floor-length, obsidian-black hair. Yet, in my studio, I have seen the aftermath of DIY rice water gone wrong: hair that feels like dry straw, snapping at the slightest tension. This is almost always a case of protein overload. The internet is full of vague instructions telling you to "soak rice for a few days," but that lack of precision is exactly what destroys the hair's structural integrity.
To use this remedy effectively in 2026, we need to move beyond folklore and look at the chemistry. Rice water contains carbohydrates, inositol (a sugar alcohol that repairs damaged hair), and amino acids. Inositol is the holy grail here; it penetrates deep into the hair shaft and remains even after washing. However, if you ferment the mixture too long, the pH drops drastically, and the concentration of proteins becomes too aggressive for most hair types, especially low-porosity or chemically treated strands. The goal is not maximum fermentation; it is optimal extraction.
The Chemistry Behind the Clock
Understanding why timing is non-negotiable requires a quick look at what happens in that jar. When rice soaks, the water leaches out nutrients. Fermentation begins when naturally occurring yeasts and bacteria start consuming the sugars in the water. This process produces acid, lowering the pH.
While a slightly acidic pH (around 4.5 to 5.5) is beneficial for closing the hair cuticle, letting the fermentation run past the 24-hour mark turns the liquid into a protein bomb. For someone with high porosity hair, this might feel like a temporary strengthener. For anyone else, it creates a stiff coating that blocks moisture. We are targeting a specific window where inositol is present and bioavailable, but the protein concentration has not yet peaked to a damaging level. This window typically sits between the 18 and 24-hour mark at room temperature.
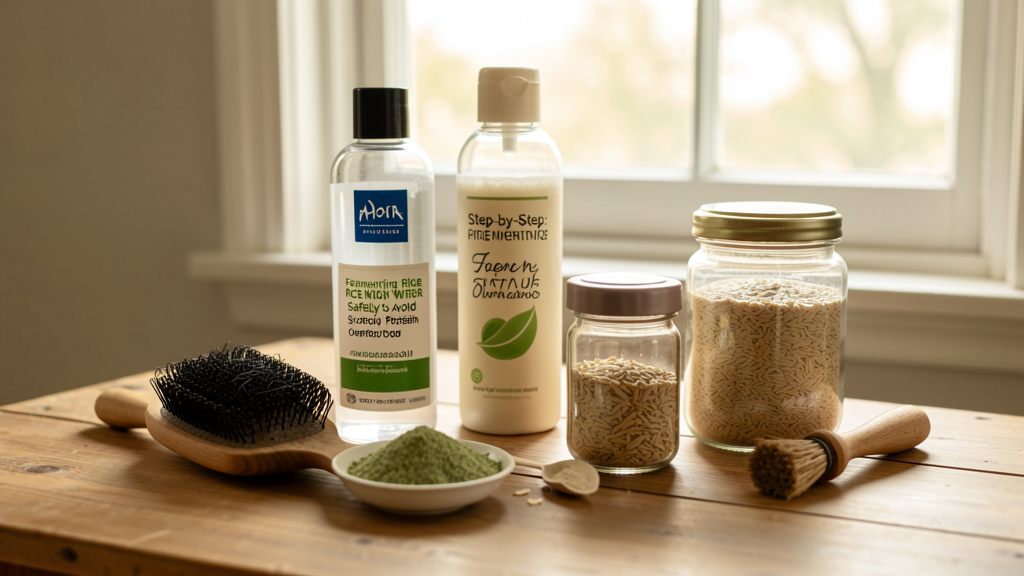
Step One: The Initial Rinse and Scrub
Do not skip the rinse. Many people dump uncooked rice straight into water, ignoring the fact that commercial rice is often coated with talc, starch, or preservatives to prevent pests.
- Measure: Place exactly ½ cup of organic white jasmine rice into a fine-mesh sieve. I prefer jasmine for its lighter starch profile compared to short-grain sticky rice, which creates a heavier, stickier mixture that is harder to rinse out.
- Rinse: Run the rice under cool, filtered water. Use your fingers to agitate the grains vigorously.
- Observe: Continue rinsing until the water running through the sieve runs completely clear. This usually takes about 60 to 90 seconds of continuous agitation.
- Transfer: Move the cleaned rice into a sterilized glass jar. Plastic can leach chemicals during the fermentation process, and metal can react with the acids, altering the chemical composition of your treatment.
Step Two: The Soak and Strain
We are separating the starch from the grain immediately to control the fermentation variables.
- Add Water: Pour 2 cups of distilled water over the rinsed rice. Tap water contains chlorine and heavy metals that can kill the beneficial bacteria needed for a healthy fermentation or, conversely, introduce pathogens. Distilled water ensures a clean slate.
- Swirl: Cover the jar with a piece of cheesecloth or a coffee filter secured with a rubber band. This allows oxygen in—which is vital for the fermentation process—while keeping dust and fruit flies out.
- Wait: Let the rice sit in the water at room temperature (ideally 70°F or 21°C) for exactly 30 minutes. This allows the bulk of the starches and surface nutrients to release without beginning a deep ferment.
- Strain: Pour the water through the sieve into a clean bowl. Discard the rice grains (or cook them; do not reuse them for a second batch as the nutrients are depleted).
When Should You Stop the Fermentation?
This is the most critical decision point in the entire process. You now have a bowl of starchy white water. You must return this water to your glass jar, cover it again with the cheesecloth, and leave it to ferment.
You must monitor this batch. Do not set it and forget it for three days.
- 12 Hours: The liquid will be slightly cloudy. The smell will be faint, starchy, and sweet. This is a mild ferment with low protein availability.
- 24 Hours (The Sweet Spot): The water will be noticeably cloudier, perhaps with a faint fizz when you swish it. The smell will be sour, similar to yogurt or sourdough starter. This indicates the pH has dropped to around 5.0, and the inositol is fully released, but the protein structures are not yet degraded into overly heavy peptides.
- 36+ Hours: The smell becomes pungent and rotten. The liquid separates. This is too acidic and too protein-heavy. It will strip color and damage the cuticle.
Stop the process at the 24-hour mark.
Step Three: The Dilution Protocol
Even with a perfect 24-hour ferment, the raw mixture is too concentrated for safe direct application on most hair types. This is where the "Safely" part of the title comes into play.
- Boil: Take your fermented rice water and bring it to a gentle boil on the stove for 2 to 3 minutes. This kills any potential bacteria that might have formed during the fermentation, ensuring you do not introduce scalp pathogens. Let it cool completely to room temperature.
- Dilute: Mix one part fermented rice water with three parts lukewarm distilled water. For example, if you have ¼ cup of fermented water, add ¾ cup of distilled water. This 1:3 ratio is the safety buffer that delivers the inositol benefits without the shock of a pure protein treatment.
- Scent (Optional): If the sour smell bothers you, add 2 to 3 drops of essential oil like rosemary or peppermint. Do not use fragrance oils, as they can be irritating to the scalp.
Step Four: The Application Technique
How you put this on your hair is just as important as how you made it.
- Shampoo First: You must apply this to clean, damp hair. Use a gentle cleanser that does not strip oils. If you are unsure about your shampoo, check SLS vs. SLES: Why One Strips Oils and the Other Doesn't to understand how surfactants affect porosity.
- Apply: Pour the diluted mixture over your hair in the shower. Scoop the ends of your hair up and ensure they are fully saturated.
- Massage: Gently massage the scalp for 3 minutes to stimulate circulation, but do not scrub aggressively.
- The Wait: Leave the treatment on for 15 to 20 minutes. Do not exceed this time. Inositol absorption is relatively quick; letting it sit longer will not increase benefits but will increase the risk of the hair stiffening as it dries.
- Rinse: Rinse thoroughly with cool water. Cool water helps the cuticle lie flat, locking the inositol inside.
Post-Treatment Moisture Locking
Protein treatments naturally create a drying effect because they fill the gaps in the hair shaft but do not provide hydration. Once you have rinsed out the rice water, you must immediately follow up with a moisturizing step.
I recommend applying a light, water-based conditioner to seal the cuticle. After towel drying, use a lightweight oil to lock that moisture in. You do not need expensive products for this; 4 Cheap Oils That Mimic Expensive Serums can do the job perfectly without weighing the hair down.
What To Do If Your Hair Feels Like Straw
If you complete this process and your hair is dry, brittle, or making a crunching sound when touched, you have used too much protein or left it on too long. This is not permanent damage, but it requires immediate correction.
Stop all protein treatments immediately. Switch to a moisturizing deep conditioning mask that contains ingredients like aloe vera, honey, or glycerin. You need to rehydrate the cortex. Avoid heat styling for at least two weeks to allow the moisture barrier to restore itself.
The Feedback Loop
Precision in hair care is about listening to the biological feedback your hair gives you. Rice water is not a "miracle cure" that works the same way for everyone. It is a potent ingredient that demands respect for its chemical composition. By adhering to the 24-hour fermentation limit and the strict 1:3 dilution ratio, you remove the guesswork.
This method is designed for sustainability. You can perform this treatment once every two weeks. If you notice your hair becoming stiff, reduce the frequency to once a month. The health of your hair is a dynamic equation, and the variables must be adjusted as the seasons change and your hair evolves. True strength comes from balance, not just adding more protein.
Read next
SLS vs. SLES: Why One Strips Oils and the Other Doesn't
Understanding the molecular difference between Sodium Lauryl Sulfate and Sodium Laureth Sulfate is the key to stopping post-wash dryness without sacrificing foam.
4 Cheap Oils That Mimic Expensive Serums by Fatty Acid Profile
Stop paying for packaging; here is how to match high-end silicone blends using specific fatty acid ratios found in drugstore oils.