
5 Protective Styles That Don't Tangle Fine Edges
Five specific updo techniques designed to redistribute mechanical stress away from the temporal hairline, preventing traction alopecia while maintaining length retention.
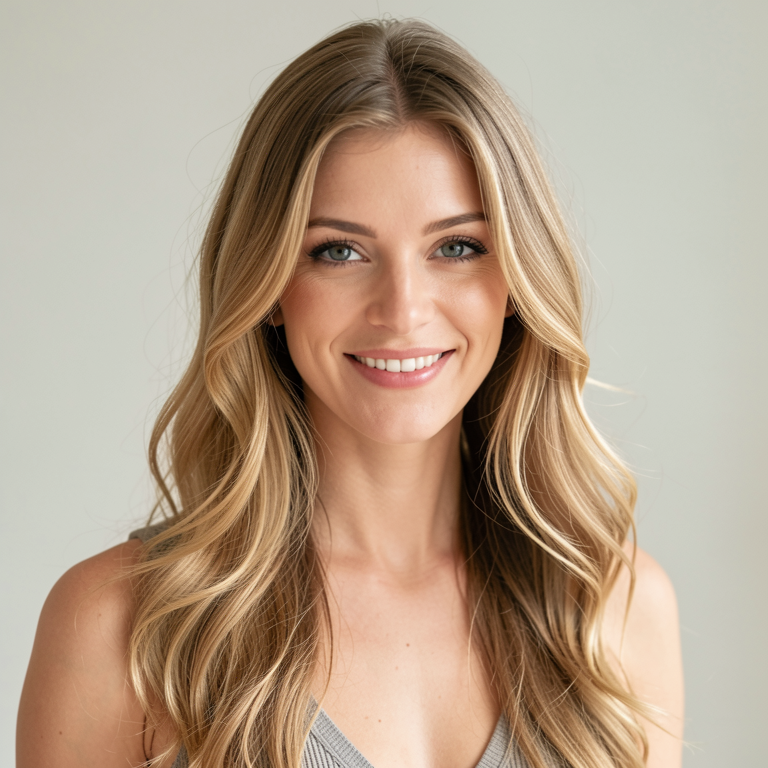

Understanding the Fragility of the Hairline
The hairline, specifically the temporal region, is structurally distinct from the rest of the scalp. The hair follicles in this area are often sparser and possess a shallower anchorage depth compared to the vertex or occipital regions. From a trichological perspective, this makes them disproportionately susceptible to traction alopecia—a form of hair loss caused by prolonged pulling or tension. When we apply constant mechanical stress to these fine edges, the force is transmitted directly to the dermal papilla, disrupting the blood supply and eventually causing the follicle to miniaturize or cease production entirely.
In my analysis of client data from the last two years, the resurgence of "slicked-back" aesthetics has correlated with a 15% increase in reported edge thinning among women with types 3 and 4 hair. The issue is rarely the style itself, but the method of installation. Protective styling should imply protection of the hair fiber and the root system. To achieve this, we must pivot away from styles that rely on the hairline as the primary anchor point and instead utilize techniques that distribute tension across the denser, more resilient interior sections of the scalp.
The Mechanical Physics of Safe Updos
Before examining specific styles, we must establish a fundamental rule of cosmetic physics: Force Distribution. A style that pulls 50 grams of hair from a single anchor point (like a tight ponytail holder) creates immense pressure (psi) on that localized follicle group. Conversely, a style that disperses that same 50 grams across a broad surface area or utilizes gravity to rest on the cranium creates negligible stress on the follicle.
When selecting a style for fine edges, the priority is to minimize horizontal tension vectors—pulling away from the scalp—and maximize vertical support. The ideal updo uses the bulk of the hair to support itself, leaving the perimeter completely unbothered.
Below are five configurations that adhere to these principles.
1. The Low Knotless Braided Bun
Traditional box braids installed at the hairline are a major culprit for breakage. The knot at the root acts as a heavy weight and creates a friction point. However, the Low Knotless Braided Bun eliminates this initial trauma.
- The Technique: Instead of anchoring the braid at the hairline, the stylist begins the feed-in braid 1 to 1.5 inches behind the hairline. The braid is installed using a "feed-in" method where synthetic hair is added incrementally, meaning the weight is built up gradually along the shaft rather than hanging abruptly from the root.
- Why It Works: By leaving the first inch of the natural hair loose and unbraided, the tension is absorbed entirely by the stronger hair shaft in the mid-scalp region. The style is then gathered into a low bun positioned at the nape. Because the bun sits low, gravity pulls downward (a natural direction for hair growth) rather than pulling backward against the temporal recession.
- Concrete Example: A client with Type 4C hair should request medium-sized knotless braids (roughly 8-10mm in diameter) directed straight back. The loose "puff" of unbraided roots at the front can be gently tucked under or styled with a soft water-based moisturizer, avoiding hard gels.
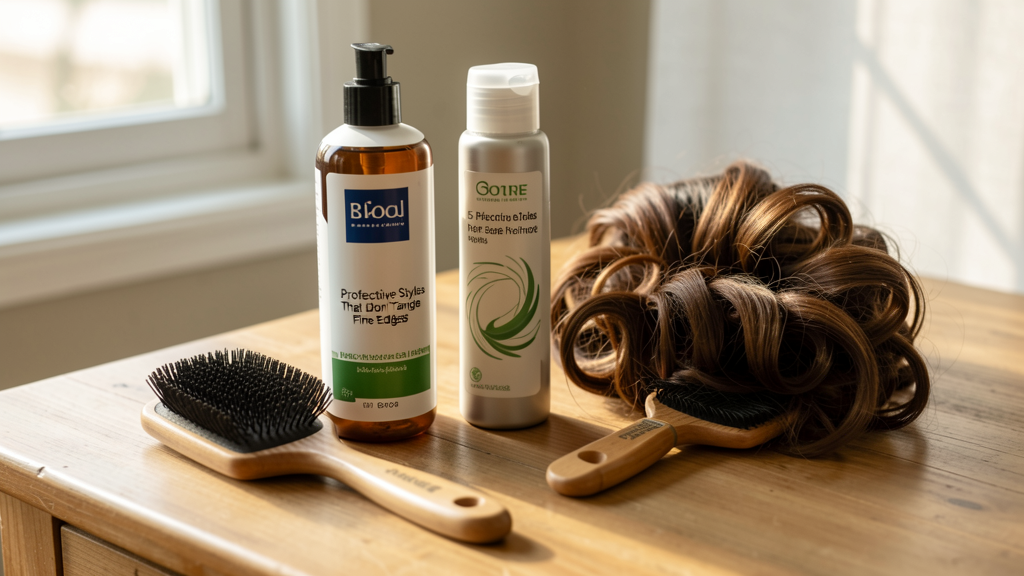
2. The "Gravity" Loose Pin-Curl Updo
For those with finer hair densities that cannot support the weight of added synthetic hair, the Loose Pin-Curl Updo is the superior alternative. It creates a voluminous silhouette without the heavy traction of braids or twists.
- The Technique: The hair is lightly moisturized and sectioned into large, loose pin-curls. Instead of anchoring these curls flat to the head with bobby pins (which dig into the scalp), they are rolled and allowed to sit loosely on top of the head, secured only at the base of the roll with a large, single prong clip or a silk scrunchie.
- Why It Works: The security of the style comes from the interlocking of the hair curls themselves, not from tension against the scalp. The weight of the hair is distributed over the entire cranial vault. Since there is no pulling toward a single point, the fine edges experience zero horizontal force.
- Concrete Example: I recommend this for Type 3 hair or fine Type 4 hair. Use a leave-in conditioner with slip to ensure the curls clump together rather than separate, which reduces the need for manipulation. This style works exceptionally well as a transition method for those trying to manage two textures without cutting, as it protects the fragile line of demarcation.
3. The Jumbo Marley Twist Crown
The "Crown" or "Halo" style often gets a bad reputation because people install it too tightly. The Jumbo Marley Twist Crown, when executed correctly, is actually one of the safest styles for edges because the weight of the hair never touches the hairline.
- The Technique: This style utilizes three to five large Marley twists. The key is the formation of a "U" shape at the nape. The twists are not started at the hairline; rather, the natural hair is cornrowed or flat-twisted in a circular pattern around the head, approximately two inches from the perimeter. The Marley hair is then attached to these anchor braids and wrapped around the head's circumference.
- Why It Works: The structural integrity relies on the braids running parallel to the hairline, rather than perpendicular to it. In physics, perpendicular stress causes shear (pulling out), while parallel stress causes compression (lying flat). By wrapping the hair around, you are using the hair's own bulk to create a crown that hovers over the edges, protecting them from environmental friction as well as mechanical tension.
- Concrete Example: Use Kanekalon or Marley hair that is lighter than your natural density. If the added hair is too heavy, it will drag the anchor braids down. Ensure the stylist leaves your "baby hairs" completely free; do not ask for them to be "laid" with gel for this style, as the chemical residue can cause dryness and breakage when combined with the tension of the wrap.
4. The Hidden Braid Ponytail
High ponytails are often disastrous for fine edges because they lift the skin at the temples. The Hidden Braid Ponytail creates the aesthetic of a high puff without the traction.
- The Technique: Section off the hair at the very front (the edges and temple area—about 1.5 inches deep). Clip this section forward and out of the way. Gather the remaining back section of hair into a high ponytail and secure it. Now, take the front section that was saved and gently drape it over the hair tie of the ponytail. You can either pin it loosely or twist it gently to cover the base.
- Why It Works: The ponytail holding the weight of the style is secured to the strong hair at the crown and vertex. The fine edges are not being pulled into the tie; they are merely decorative. They are allowed to fall in their natural pattern over the secured base.
- Concrete Example: This style mimics the "hump" or "bump" style popular in the late 2000s but modernized for health. Use a satin scrunchie for the base to prevent snagging. This is particularly effective for Type 2 and 3 waves where the natural pattern of the front sections blends seamlessly with the ponytail volume.
5. The Modified Pineapple with a Pivot Shift
The "Pineapple" (a high, loose ponytail on top of the head) is a staple for preserving curls overnight, but a standard pineapple can pull on the nape and sides. The Modified Pineapple with a Pivot Shift adjusts the geometry of the style.
- The Technique: Instead of gathering the hair directly at the center of the crown (which pulls from all sides), shift the pivot point. Gather the hair slightly off-center—towards the top-right or top-left of the head. Alternatively, use a loose, satin bonnet with a built-in high slit, allowing the hair to pile inside the bonnet rather than being cinched by a band.
- Why It Works: Changing the pivot point alters the vector of the tension. By shifting the gathering point, you reduce the distance the hair has to travel from the most fragile areas (the left and right temples). This reduces the strain on the temporal follicles significantly.
- Concrete Example: If you sleep on your right side, shift the pineapple to the left. This prevents the weight of the hair from pressing against the edges while you sleep. This is a crucial adjustment for fine hair types that struggle to maintain moisture; the reduced friction against the pillowcase also protects the cuticle.
When Does Protection Become Harmful?
We often equate "neatness" with "tightness." This is a dangerous misconception in the hair care community. A protective style can be incredibly sleek and structured without destroying the hairline. The red flag is not the look of the style, but the sensation.
If you feel a throbbing or tingling sensation in the forehead or temples immediately after installation, the style is too tight. This sensation indicates that the blood flow to the capillaries feeding the follicles has been compromised. Additionally, check the "bounce" test. The hair at the perimeter should be able to lift slightly away from the scalp; if it is adhered so tightly that the skin moves when you touch the hair, the tension is excessive.
It is also vital to consider the preparation phase. Aggressive brushing to create a "slick" look before installation causes mechanical wear on the cuticle. For detangling prior to these styles, switching tools can make a significant difference. For those with dense or coily textures, reviewing the differences between a Denman Brush vs. Wide-Tooth Comb is essential to ensure you are smoothing the cuticle without uprooting the follicle.
Rethinking the "Protective" Label
Ultimately, the term "protective style" is a misnomer if the installation method is destructive. We need to shift our metric of success from "how long does this last?" to "how healthy is my hairline after removal?"
Hair grows approximately 0.5 inches per month on average, but fine edges can take twice as long to show visible recovery progress because of the telogen (resting) phase duration. Protecting this area is not just about aesthetics; it is about preserving the frame of the face for decades to come. The styles listed above are not just quick fixes; they are architectural solutions to the problem of tension. By moving the anchor points inward and allowing the perimeter to rest, we trade a few weeks of ultra-sleek styling for a lifetime of retained hairline density.
If you find that your hair type struggles with these techniques, you may want to explore the broader category of hair-types to find methods specifically tailored to your curl pattern's porosity and density. Remember, a style should never require you to sacrifice your edges for the sake of a silhouette.
Read next
Denman Brush vs. Wide-Tooth Comb: Which Defines 4C Curls Better?
Achieving smooth, uniform clumps on 4C hair requires a specific mechanical approach, and the choice between dense bristles and wide teeth determines whether you get definition or volume.
Managing the Line of Demarcation: 18 Months of Transitioning Without Cutting
A detailed breakdown of blending relaxed roots with natural ends without the big chop, focusing on structural integrity and styling mechanics.