
Precision Scalp Massage: A Circulation Protocol for Growth Without Tangles
A technical guide to increasing capillary blood flow and nutrient delivery to the follicles using friction-based finger movements that preserve hair cuticle integrity.
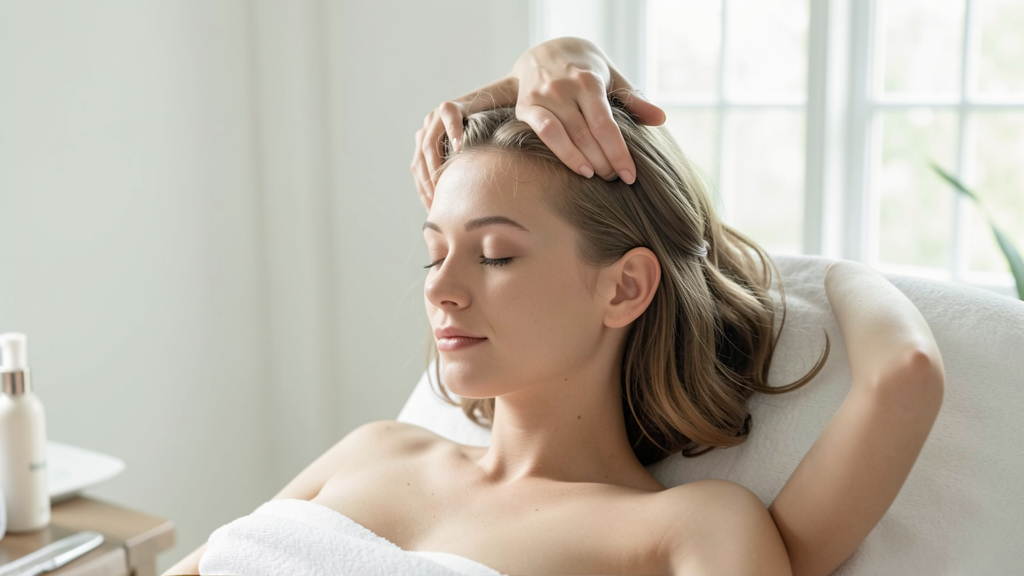
Blood flow is the silent currency of hair growth. While the market is saturated with serums promising to revitalize dormant follicles, the biological reality is that a topical treatment can only perform as well as the circulatory system delivering it. If the microvascular network beneath the scalp is constricted or stagnant, the diffusion of oxygen and nutrients to the dermal papilla slows down, potentially shortening the anagen (growth) phase.
The problem for most of my clients isn't a lack of desire to massage their scalps; it is the fear of mechanical damage. Vigorous rubbing creates friction between hair strands, lifting the cuticle and resulting in the very tangling and breakage they are trying to avoid. To stimulate growth without compromising the hair shaft, we must move away from chaotic rubbing and toward deliberate, isolated compression.
This protocol focuses on "stationary movement." The goal is to mobilize the scalp skin—the Galea aponeurotica—without sliding the fingers laterally across the hair length. This minimizes cuticle abrasion while maximizing shear stress on the capillaries, a mechanism supported by research indicating that mechanical stimulation can upregulate growth factors like IGF-1.
The Biomechanics of Non-Tangling Friction
Before touching your head, it is vital to understand the anatomy of the technique. The scalp is not firmly attached to the skull; it moves over the cranial bones. A tangle-free massage exploits this mobility. When you rub your hair in circles, you are knotting the fibers. When you compress and release the scalp, you are essentially pumping the tissue beneath.
We are targeting the subcutaneous layer. Here, the arterioles dilate in response to pressure and heat. However, if you use your fingernails or the very tips of your fingers, you risk scratching the epithelium and causing inflammation. Inflammation triggers fibrosis, which actually restricts blood flow. Therefore, every movement in this guide utilizes the fleshy pads of the fingers, creating a seal against the skin that allows for controlled manipulation without slip.
To ensure maximum permeability, perform this on a scalp that is free of heavy styling products. If you notice a waxy film or resistance when you press, you likely have buildup interfering with the direct contact. Identifying whether this is product accumulation or skin shedding is the first step.
Preparation: Optimizing Surface Tension
Attempting to massage a dry scalp often results in a "sandpaper" effect, where friction causes static electricity and tangling. You need a medium that allows the fingers to glide over the roots without sliding through the lengths.
Select a lightweight oil or a pre-wash conditioner. I recommend a drop of jojoba or grapeseed oil—they mimic the natural sebum the scalp produces to protect the hair shaft.
Step 1: Application and Parting Dispense three to four drops of oil into your palms. Rub your hands together to warm the fluid, then distribute it lightly over the scalp. Do not coat the mid-lengths or ends. Use the tail of a rattail comb to create a single, clean parting from the forehead to the nape. This creates a "track" where you can see the scalp clearly. We will work in tracks, moving systematically across the head to ensure no zone is neglected.
The Glide: Establishing Vasodilation
This phase warms the tissue and signals the capillaries to expand. It prepares the ground for the deeper work required to move stagnant blood.
Step 2: The Frontal Anchor Place the pads of your index and middle fingers on the scalp along the parting line, right at the hairline. Apply enough pressure to feel the scalp move, but not enough to indent the skull.
Step 3: The Slow Effleurage Maintaining that pressure, glide your fingers backward toward the crown. The movement should be slow—taking roughly four seconds to travel from hairline to crown. Do not lift your fingers; keep them connected to the skin to maintain thermal continuity. Repeat this stroke five times along the same parting.
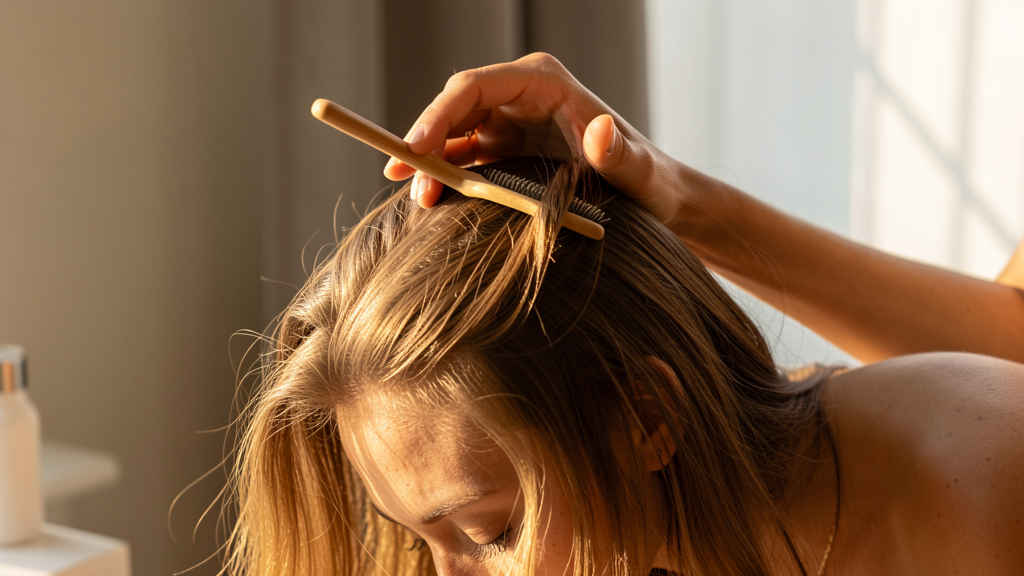
This rhythmic motion begins to draw blood forward from the venous plexus at the back of the head. It also starts to loosen the connective tissue, allowing for deeper manipulation in the next phase. Move your parting one inch to the left and repeat. Continue until you have covered the entire left side, then switch to the right.
The Compression: Deep Stimulation Without Slip
This is the core of the technique. Unlike the glide, this step does not involve sliding the fingers across the surface. This prevents the hair strands from twisting around each other.
Step 4: The Stationary Compression Return to your original center parting. Place both index and middle fingers on the scalp, spaced about two inches apart. Press down firmly, attempting to push the scalp deeper against the skull.
Step 5: The Two-Millimeter Shift With the pressure held constant, begin moving the scalp skin in tiny, tight circles. The diameter of these circles should be no larger than two millimeters. Imagine you are trying to make a tiny coin spin underneath the skin. Your fingers should essentially be staying in the same place, but the skin beneath them is moving.
Perform ten of these micro-circles. Then, maintain the pressure and simply release it quickly for a "pulse" effect. This rapid release acts as a suction, pulling fresh blood into the area as the pressure equalizes. Move one inch down the parting line and repeat until you reach the occipital bone (the bump at the back of the head).
This specific movement targets the arrector pili muscles and the microvascular bed. Because the fingers are not sliding longitudinally through the hair, there is zero mechanical friction on the cuticle. You are creating turbulence in the fluid beneath the skin, not tangling the fibers above it.
The Cross-Hatch: Releasing Fascia Tension
Tension in the scalp is often directional. The Galea aponeurotica can tighten, pulling the skin tight like a drumhead, which compresses capillaries. To release this, we need to work against the grain of the tension.
Step 6: The Lateral Stretch Create a vertical parting on the side of your head. Place one hand on the front of the parting and the other hand on the back. Press firmly. Without sliding, pull the front hand forward and the back hand backward. You are stretching the skin apart.
Hold this stretch for three seconds. You should feel a gentle pulling sensation. This counteracts the constant forward tension we experience from looking at screens and gravity, which constricts blood flow at the temples and forehead. Release and repeat three times on each side of the head.
The Drainage: Managing the Exit Flow
We have pushed blood into the capillaries and mobilized the tissue. Now we must ensure the venous blood can exit efficiently. If we pump fluid in but don't help it out, we create edema (swelling), which can suffocate the follicle.
Step 7: The Occipital Release Place your thumbs at the base of your skull, just below the occipital bone, in the soft hollows. Press inward and slightly upward. This is where the occipital lymph nodes reside.
Step 8: The Sweep Traction While pressing with your thumbs, hook your fingers over the top of the head. Gently pull the fingers toward the forehead while the thumbs hold the back. This creates a lengthening traction of the entire scalp. Hold for five seconds.
Step 9: The Neck Drain Slide your thumbs down the sides of the neck, along the sternocleidomastoid muscle, using firm pressure to sweep the fluid down toward the collarbones. This assists the lymphatic system in draining metabolic waste products away from the scalp.
Integrating This Into Your Routine
I advise performing this protocol three to four times a week, preferably in the evening. It serves as a excellent mechanism to lower cortisol levels before sleep. Cortisol is a known vasoconstrictor; by actively engaging in a calming, physical ritual, you chemically signal the body to drop the fight-or-flight response, thereby allowing the blood vessels to dilate naturally.
Be mindful of the products you use in conjunction with this massage. If your scalp is prone to inflammation, opting for low-irritant cleansing methods can be a game changer. Introducing harsh surfactants immediately after deep stimulation can irritate the newly sensitized skin.
For those dealing with significant flaking, you might feel tempted to scrub hard during this massage. Resist the urge. If you have dermatitis or severe dandruff, mechanical friction can worsen it. In such cases, treat the medical condition first; understanding the difference between scrubs and chemical exfoliants is crucial here. Massage is for circulation, not exfoliation.
Final Thoughts
The efficacy of scalp massage lies not in the force you apply, but in the consistency of the signal you send to the body. By using the "stationary movement" principle, you bypass the common pitfall of mechanical damage while still accessing the circulatory benefits. It is a slow, meditative practice that treats the scalp as the living organ it is, rather than just a placeholder for hair. Over the course of several months, this improved environment provides the follicles with the stability required to produce thicker, more resilient strands, proving that sometimes the most advanced biotechnology is simply our own hands.
Read next
Buildup or Dandruff? The Definitive Symptom Check for 2026
Stop wasting money on medicated shampoos when the real issue is cosmetic accumulation; learn to differentiate residue from skin conditions.
Beyond Dirty: The Protective Power of Scalp Sebum
We often mistake natural scalp oils for grime, but sebum is actually a sophisticated biological shield essential for hair health and moisture retention.